How To Configure Schema Markup for Singular posts Using the Schema Package
The Schema Package plugin makes it easy to configure structured data (schema markup) for individual posts—such as blog posts, pages, or custom post types.
This guide will walk you through the process of setting up schema markup for singular posts using the Schema Package interface. There are two available methods to configure schema markup for any type of content using Schema Package.
✅ Method 1: Configure Schema Automatically (Global Setup)
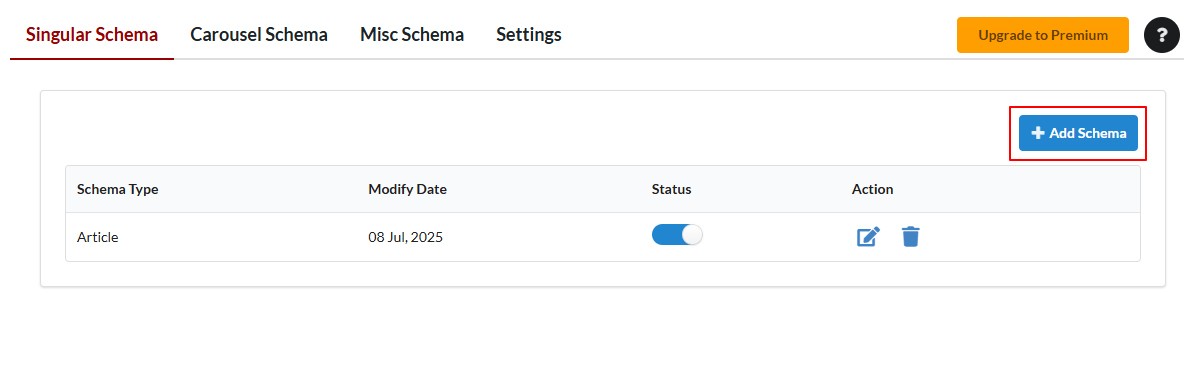
- Navigate to Schema Package Dashboard → Select Singular Tab
- Click Add Schema
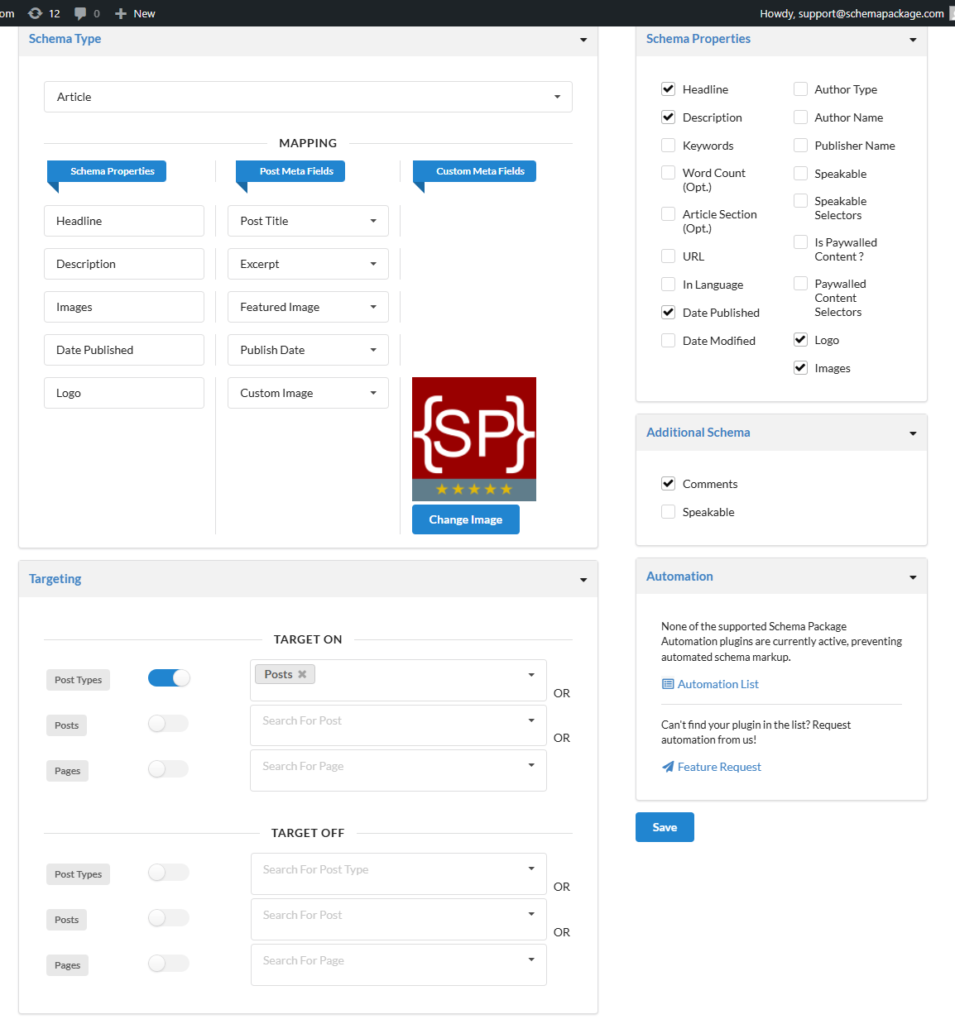
- Select Schema Types of Your Choice: eg. Article
- Set Targeting Rules (e.g. Post Types Posts & Pages)
- Map fields:
- Headline → Post Title
- Image → Featured Image
- Author → Post Author
- Date Published → Publish Date
- Save the schema configuration
Note: For Article schema, almost all required fields are already available on every post, and Schema Package automatically pulls those values and includes them in the JSON-LD. Mapping is not required unless you want to manually override any field with a different value.
Singular Schema — Targeting Rules Explained
Singular schemas in Schema Package support two types of targeting logic:
- Target On (Include rules)
- Target Off (Exclude rules)
Each targeting type allows you to control where a singular schema should appear or not appear based on specific conditions.
1. Target On (Include Targeting)
Use Target On when you want the schema to be displayed only on selected content.
Available Conditions
- Post Types
Toggle on and select one or more post types (multi-select) - Posts
Toggle on and select specific posts (multi-select) - Pages
Toggle on and select specific pages (multi-select) - Languages (Premium feature)
Toggle on and select one or more languages (multi-select)
Targeting Logic
- Post Types, Posts, and Pages work in an OR condition
- If any one of these conditions matches, the schema will be displayed.
- Languages work in an AND condition
- The schema will be displayed only if:
- One of the selected Post Types / Posts / Pages matches
AND - The selected language also matches
- One of the selected Post Types / Posts / Pages matches
- The schema will be displayed only if:
💡 Example:
If a schema is targeted to Posts OR Pages, and Language = English,
the schema will appear only on matching posts/pages in English.
2. Target Off (Exclude Targeting)
Use Target Off when you want the schema to be displayed everywhere except selected content.
Available Conditions
- Post Types
Toggle on and select one or more post types (multi-select) - Posts
Toggle on and select specific posts (multi-select) - Pages
Toggle on and select specific pages (multi-select) - Languages (Premium feature)
Toggle on and select one or more languages (multi-select)
Targeting Logic
- Post Types, Posts, and Pages work in an OR condition
- If any one of these conditions matches, the schema will NOT be displayed.
- Languages work in an AND condition
- The schema will be excluded only if:
- One of the selected Post Types / Posts / Pages matches
AND - The selected language also matches
- One of the selected Post Types / Posts / Pages matches
- The schema will be excluded only if:
💡 Example:
If a schema is excluded from Posts OR Pages, and Language = French,
the schema will be hidden only on matching posts/pages in French.
Notes
- Languages targeting is available only in the Premium version
- If no condition is matched, the schema follows the default behavior
- OR logic increases reach, AND logic refines targeting accuracy
✅ Method 2: Add Schema Manually Per Post (Schema Package Generator)
Want more control for a particular post?
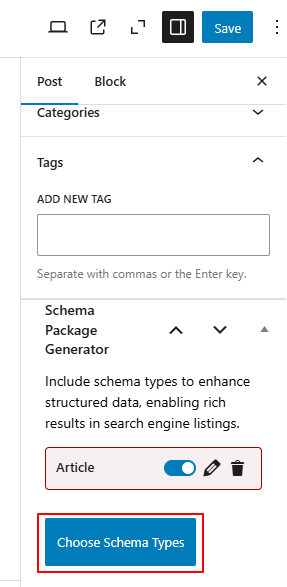
- Open the post or page in the WordPress editor.
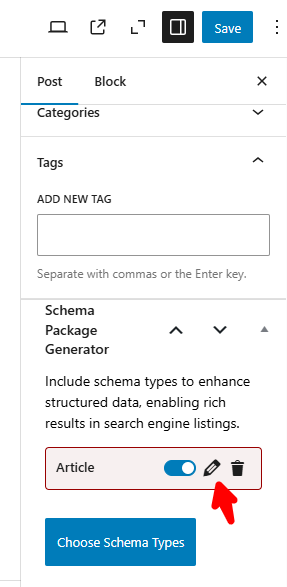
- Scroll down to the Schema Package Generator section.
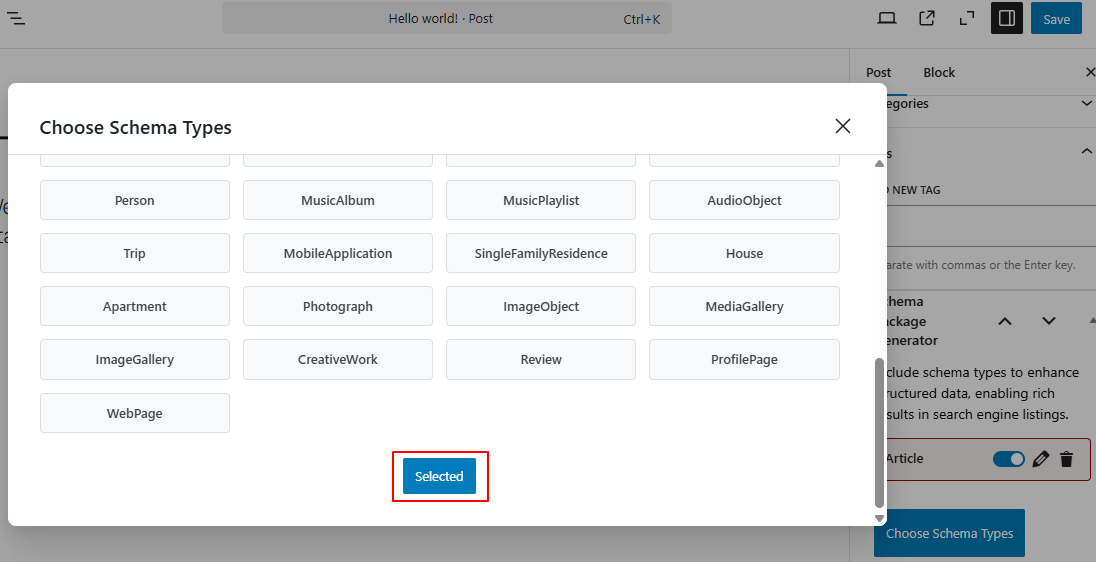
- Click on Choose Schema Type — a popup will appear showing the list of available schema types.
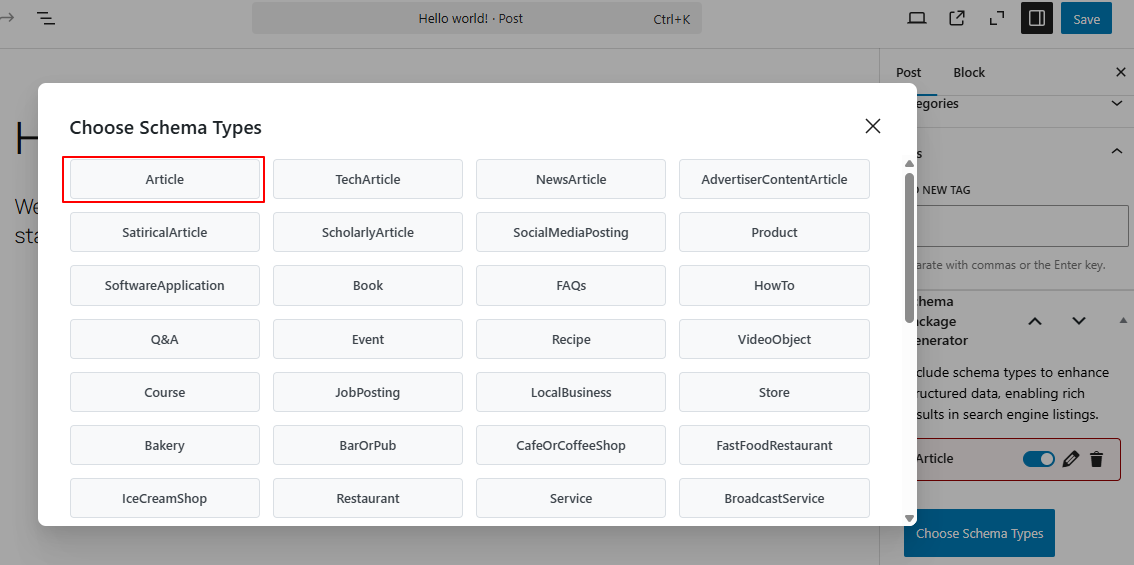
- Select schema types of your choice and click the Selected button. The Selected schema will now be added to the post.
- Click the Edit icon next to the added schema. A second popup will appear with all its fields and properties.
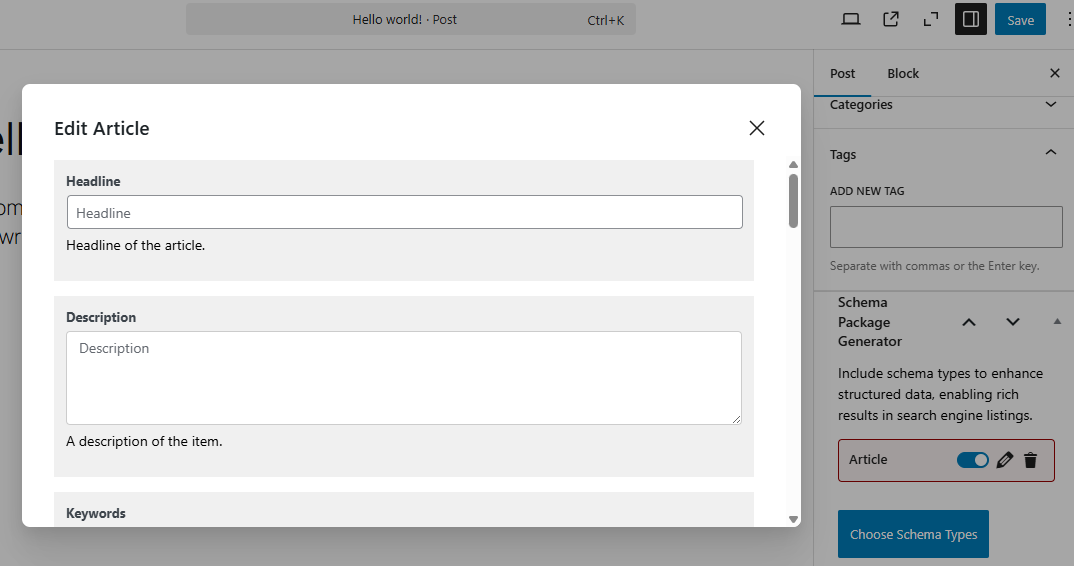
- Fill in the required details, then click the Save for Post button.
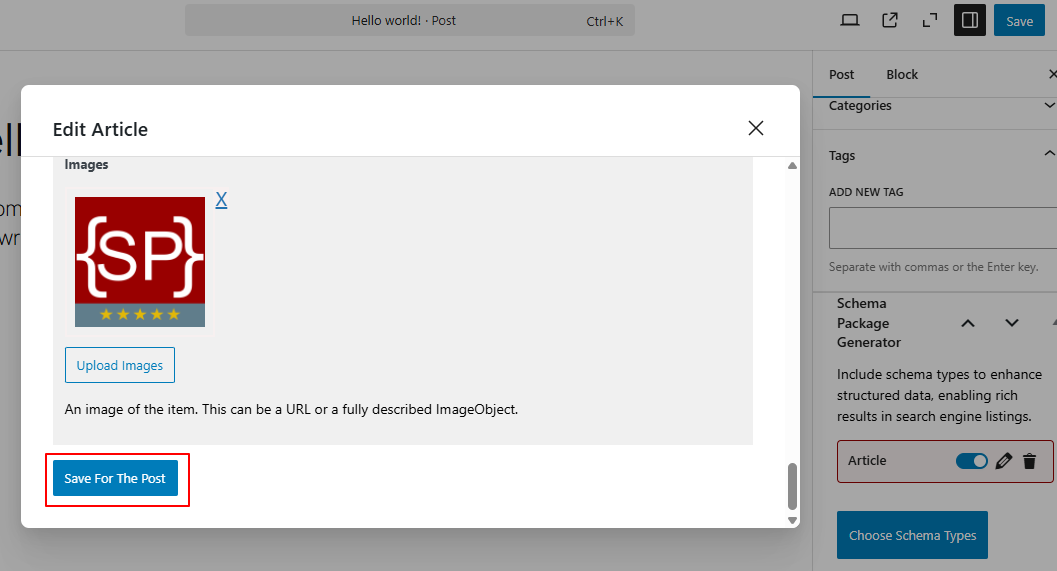
- Finally, Save or Update the post to apply the changes.
Note: This method is ideal for posts that require custom or advanced schema data. However, it comes with a drawback—if you use this approach for every post, it can become a time-consuming task to manually fill in the data each time. Therefore, use this method only when it’s truly necessary for specific posts or pages.
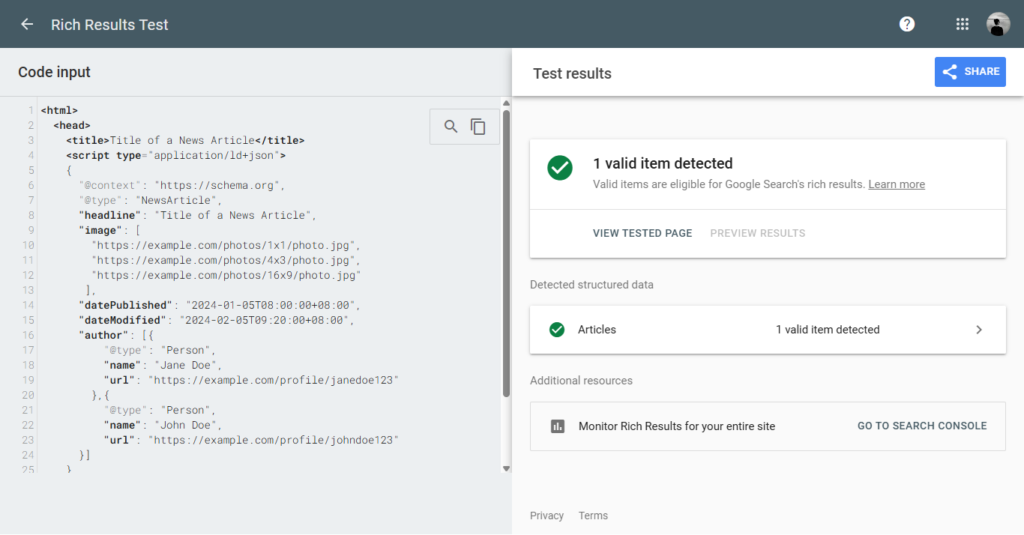
Test Your Schema Markup
After setting up your schema, verify it using the validator tools below. Simply copy your post URL or page source and paste it into one of the testing tools.
Common Issues & Fixes
- Use high-quality image URLs
- Ensure author/publisher info is complete
- Avoid duplicate schema from other plugins/themes
- Always validate schema after changes
Final Thoughts
By adding Schema with the Schema Package plugin, you’re not just optimizing your WordPress site for Google — you’re also preparing your content for the future of AI-driven search, assistants, and intelligent recommendations.
Structured data is no longer just an SEO tool — it’s a language for AI.