How To Use Multiple Schema Markup Types With Schema Package
Schema Package allows you to add multiple Schema Markup types on the same website, the same post type, or even the same individual post/page, all without conflicts. This documentation explains all supported methods, best practices, and real-world use cases so you can implement structured data correctly and safely.
Why Use Multiple Schema Markup Types?
Search engines often expect more than one schema type to fully understand a page.
For example:
- A blog post can have Article + Breadcrumb + FAQ schema
- A product page can have Product + Review + Offer schema
- A video post can have VideoObject + Article schema
- A service page can have Service + FAQ + Organization schema
Schema Package is designed to merge and output multiple schema types correctly without overwriting each other.
Ways To Add Multiple Schema Markup Types
Schema Package provides two primary ways to add schema markup:
- From the Schema Package Dashboard (Global / Conditional)
- Using the Schema Package Generator (Per Post / Page)
You can use one or both methods together, depending on your needs.
Method 1: Adding Multiple Schemas From Schema Package Dashboard
This method is ideal for global or rule-based schemas.
Step 1: Go to Schema Package Dashboard
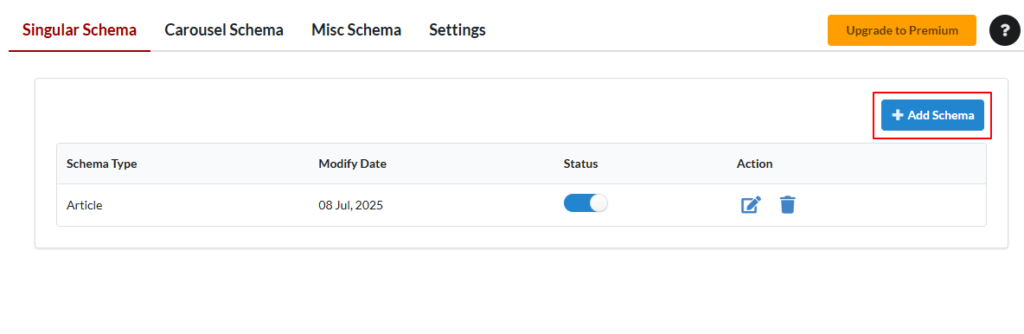
- Navigate to:
WordPress Admin → Schema Package → Add New Schema
Step 2: Choose a Schema Type
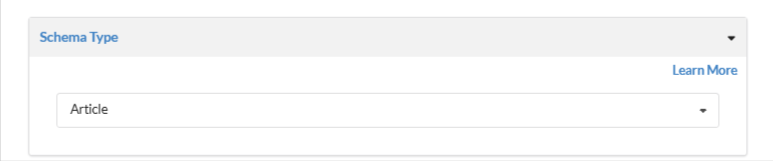
Select the schema type you want to add, for example:
- Article
- Product
- FAQ
- Breadcrumb
- VideoObject
- Organization
- Local Business
Each schema type is handled independently, so you can create multiple schemas without limitation.
Step 3: Set Target On / Target Off Rules
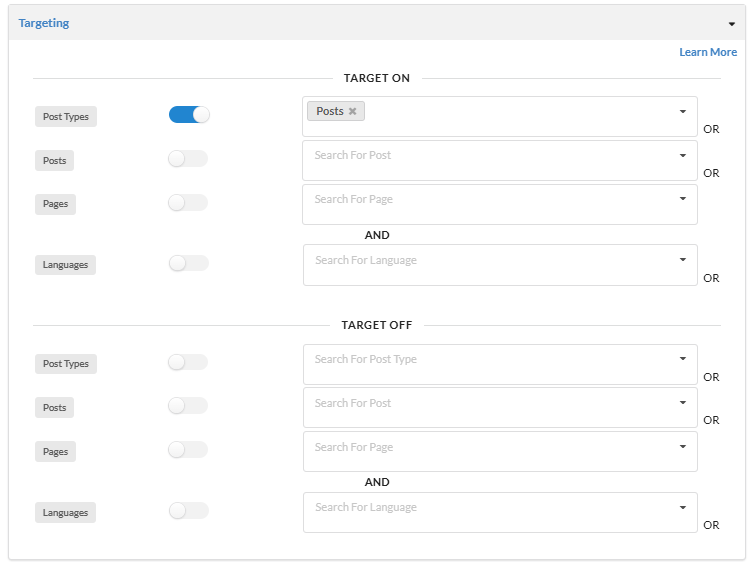
Targeting rules decide where the schema will appear.
You can assign schemas to:
- Specific post types (Posts, Pages, Products, etc.)
- Specific posts or pages
👉 Example:
- Add Article schema only for Posts
- Add Product schema only for WooCommerce Products
Step 4: Repeat for Additional Schema Types
To add multiple schema types:
- Create one schema
- Save it
- Add another schema with different rules
Schema Package will automatically output all matching schemas together on the frontend.
Method 2: Add Schema Manually Per Post (Schema Package Generator)
Want more control for a particular post?
- Open the post or page in the WordPress editor.
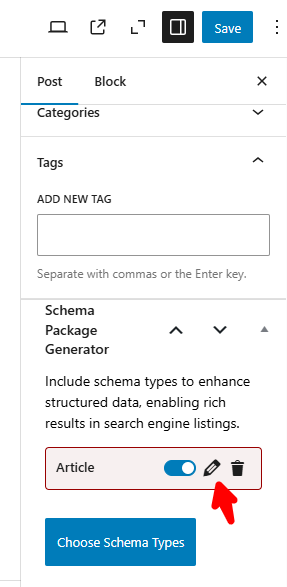
- Scroll down to the Schema Package Generator section.
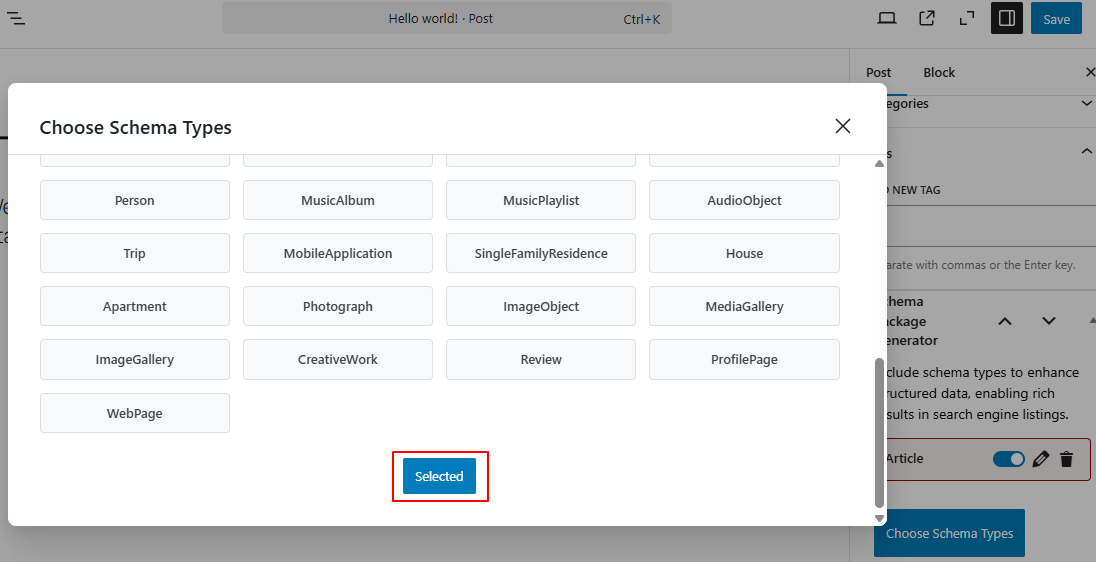
- Click on Choose Schema Type — a popup will appear showing the list of available schema types.
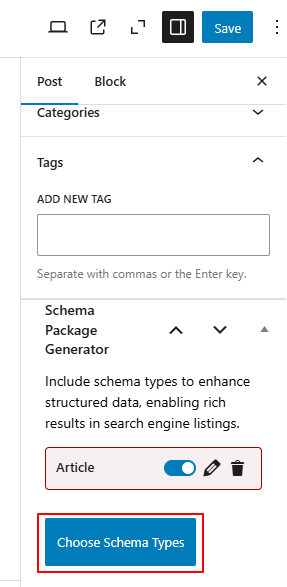
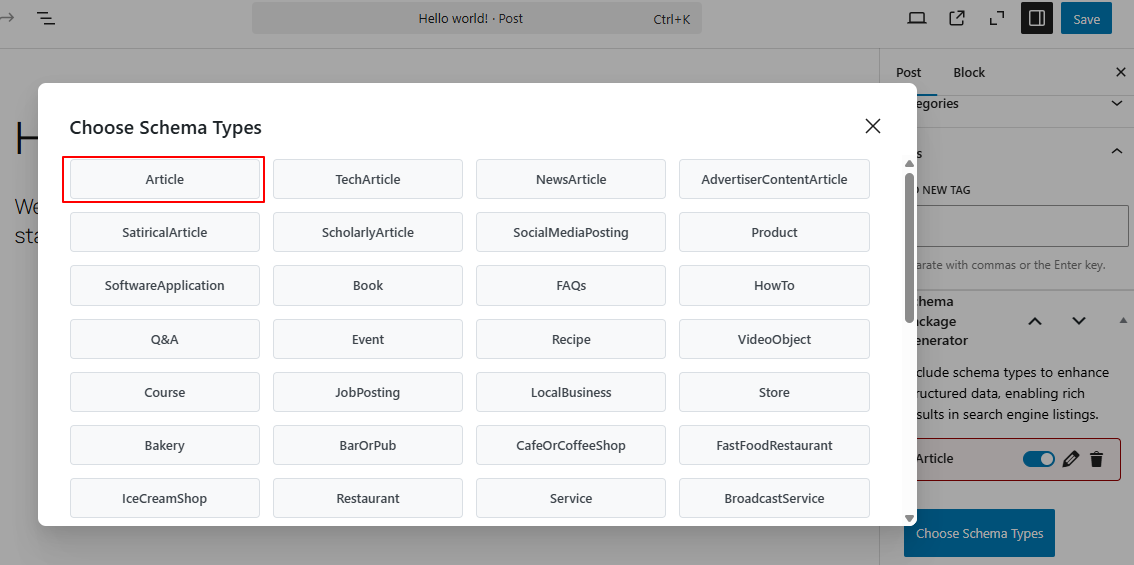
- Select schema types of your choice and click the Selected button. The Selected schema will now be added to the post.
- Click the Edit icon next to the added schema. A second popup will appear with all its fields and properties.
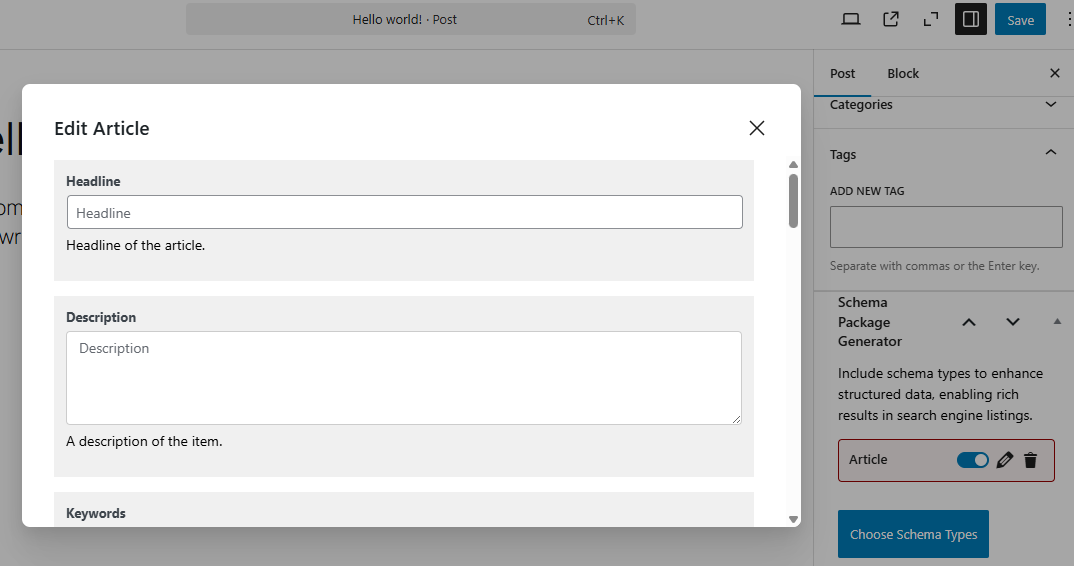
- Fill in the required details, then click the Save for Post button.
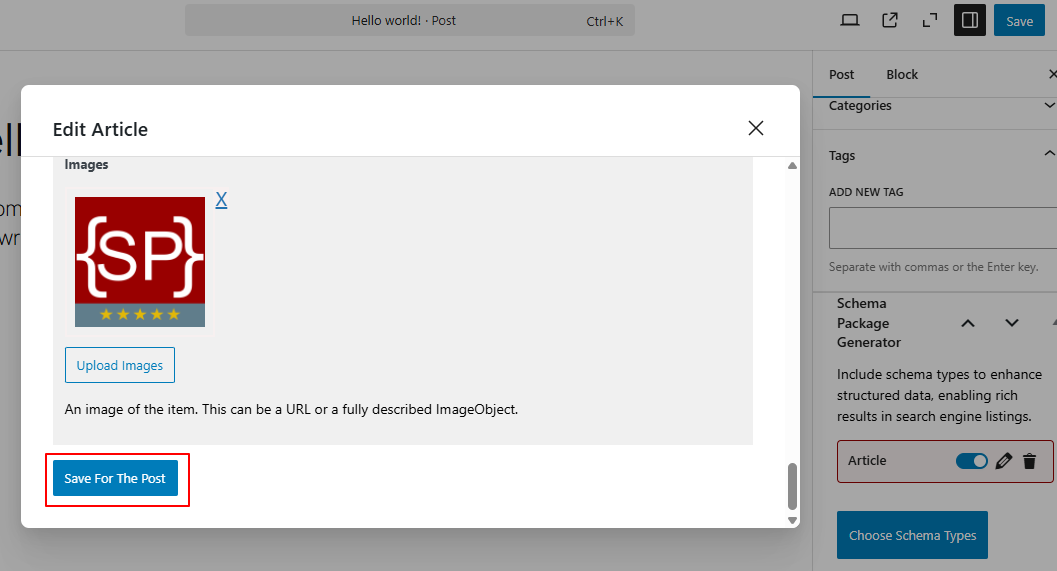
- Finally, Save or Update the post to apply the changes.
- Repeat above Method 2 again for Additional Schema Types
Note: This method is ideal for posts that require custom or advanced schema data. However, it comes with a drawback—if you use this approach for every post, it can become a time-consuming task to manually fill in the data each time. Therefore, use this method only when it’s truly necessary for specific posts or pages.
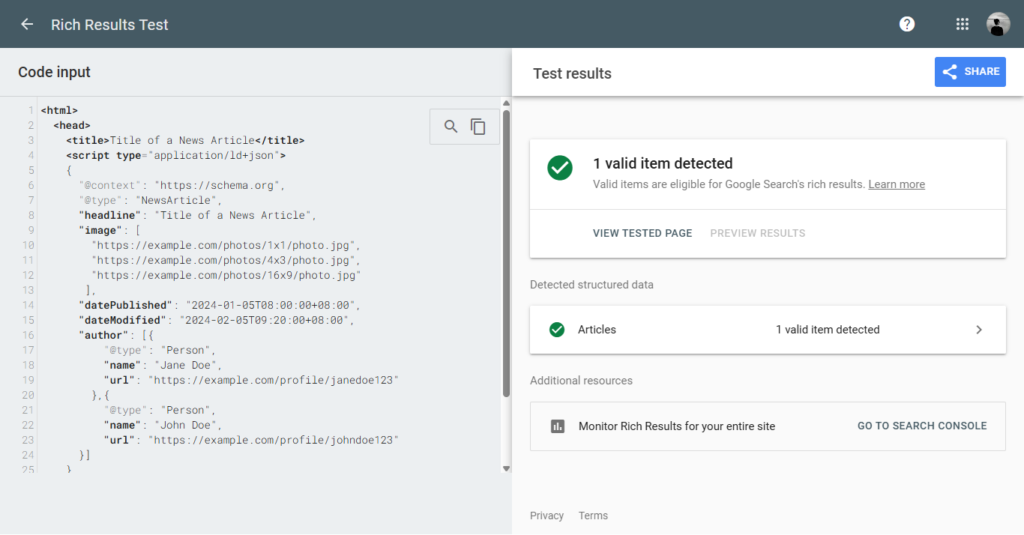
Test Your Schema Markup
After setting up your schema, verify it using the validator tools below. Simply copy your post URL or page source and paste it into one of the testing tools.
Common Issues & Fixes
- Use high-quality image URLs
- Ensure author/publisher info is complete
- Avoid duplicate schema from other plugins/themes
- Always validate schema after changes
Final Thoughts
By adding Schema with the Schema Package plugin, you’re not just optimizing your WordPress site for Google — you’re also preparing your content for the future of AI-driven search, assistants, and intelligent recommendations.
Structured data is no longer just an SEO tool — it’s a language for AI.