Article Schema Markup Setup Guide
Want your blog posts or news articles to appear with rich snippets in Google Search or be accurately understood by AI tools and assistants? Adding Article Schema Markup is essential. This guide will help you set up Article Schema using the Schema Package WordPress plugin to enhance both SEO and AI discoverability.
What Is Article Schema Markup?
Article Schema Markup is a structured data format defined by Schema.org that helps search engines, AI tools, and language models better understand your content as an article.
With Article schema, your content can appear in:
- Rich results in Google (headline, image, date, etc.)
- AI-generated answers (e.g., Google SGE, Bing Copilot, ChatGPT)
- Smart assistants like Google Assistant and Siri
- Voice search responses
📘 Read Google’s official guidelines here:
👉 Google Article Structured Data Documentation
Why Use Article Schema?
Using Article Schema improves:
- ✅ Search Engine Visibility: Appear in rich snippets and Top Stories
- ✅ AI Content Recognition: Helps AI models understand your content structure
- ✅ Click-Through Rates: Enhanced listings attract more user attention
- ✅ Credibility & Trust: Structured data signals content authenticity
It’s a smart move for both SEO and AI-driven experiences.
When Should You Use Article Schema?
Add Article Schema for:
- Blog posts
- News articles
- Editorials or opinion pieces
Avoid it on non-article content like product pages, landing pages, or contact forms.
How to Set Up Article Schema in WordPress (Using Schema Package Plugin)
You can add Article Schema using two easy methods in the Schema Package plugin:
✅ Method 1: Apply Article Schema Automatically (Global Setup)
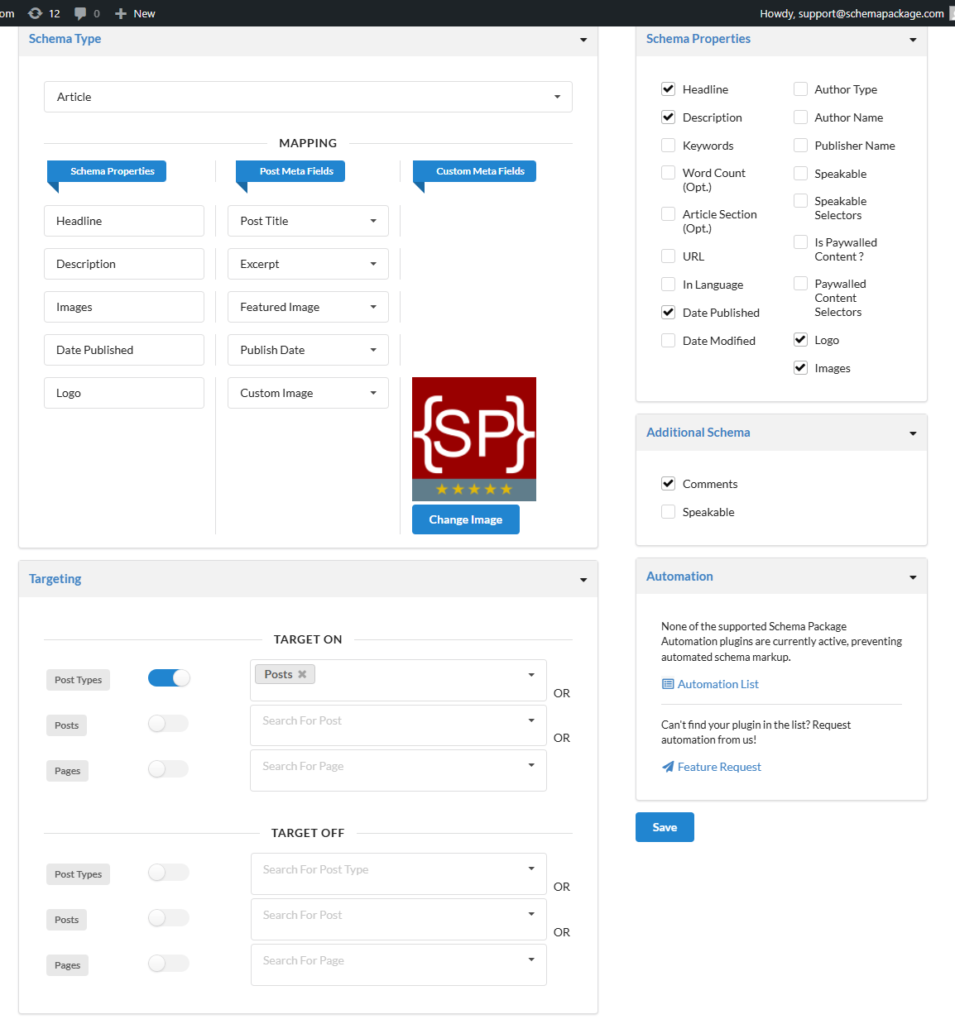
- Navigate to Schema Package Dashboard → Select Singular Tab
- Click Add Schema

- Select Schema Type: Article
- Set Targeting Rules (e.g. Post Types Posts & Pages)
- Map fields:
- Headline → Post Title
- Image → Featured Image
- Author → Post Author
- Date Published → Publish Date
- Save the schema configuration
Note: For Article schema, almost all required fields are already available on every post, and Schema Package automatically pulls those values and includes them in the JSON-LD. Mapping is not required unless you want to manually override any field with a different value.
✅ Method 2: Add Schema Manually Per Post (Schema Package Generator)
Want more control for a particular post?
- Open the post or page in the WordPress editor.
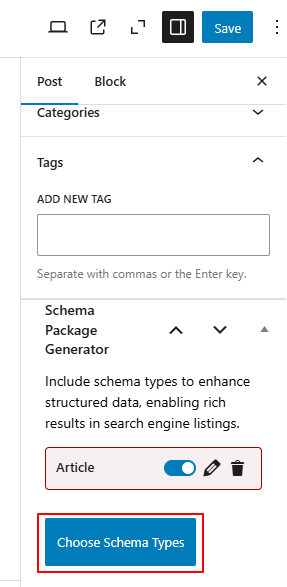
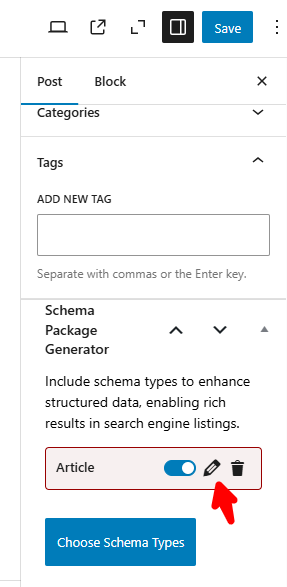
- Scroll down to the Schema Package Generator section.
- Click on Choose Schema Type — a popup will appear showing the list of available schema types.
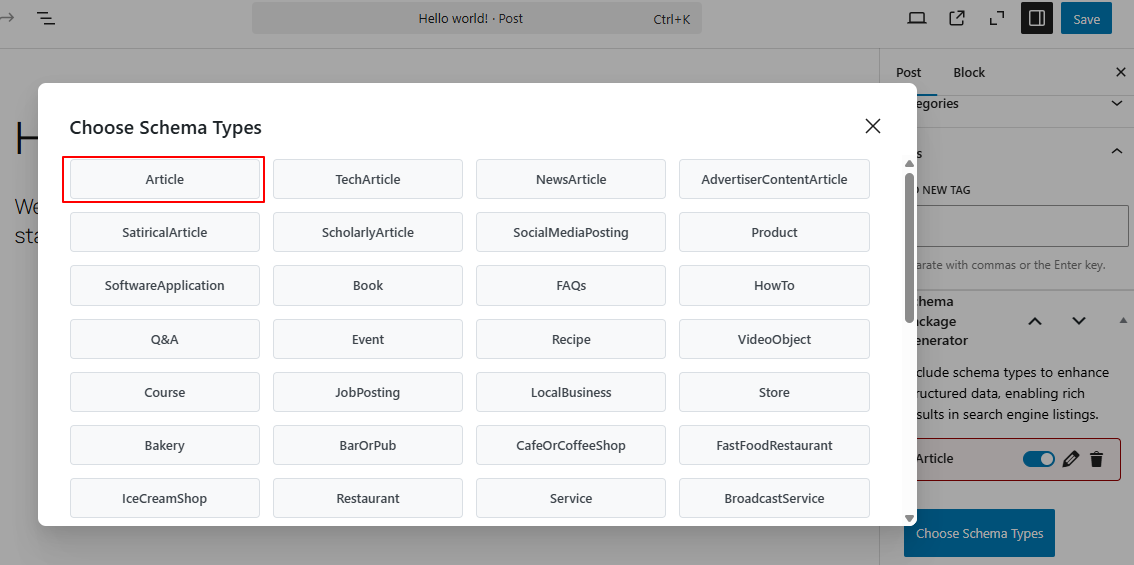
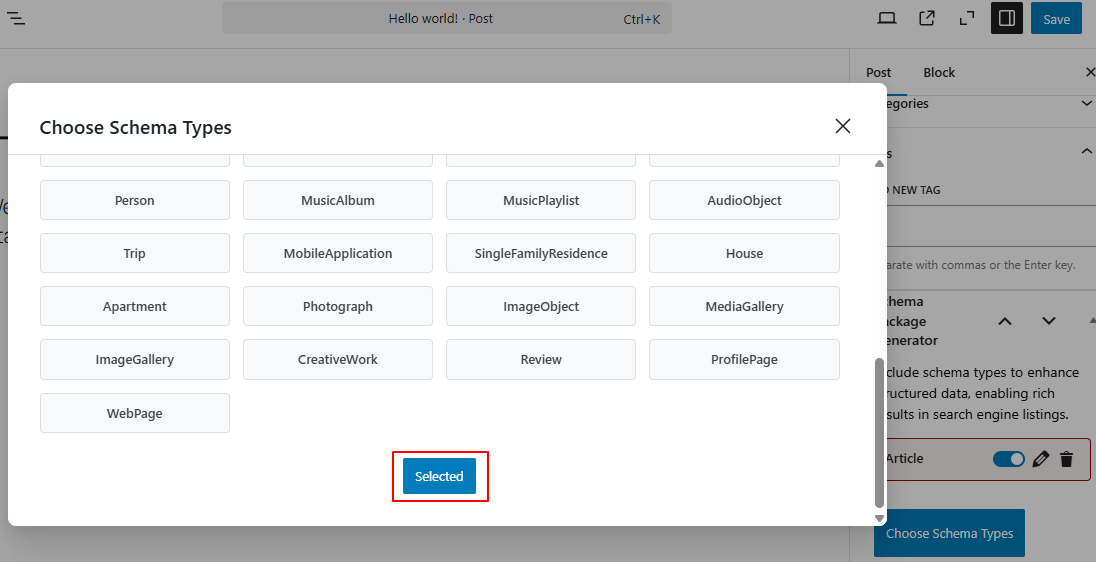
- Select Article as the schema type and click the Selected button. The Article schema will now be added to the post.
- Click the Edit icon next to the added Article schema. A second popup will appear with all its fields and properties.
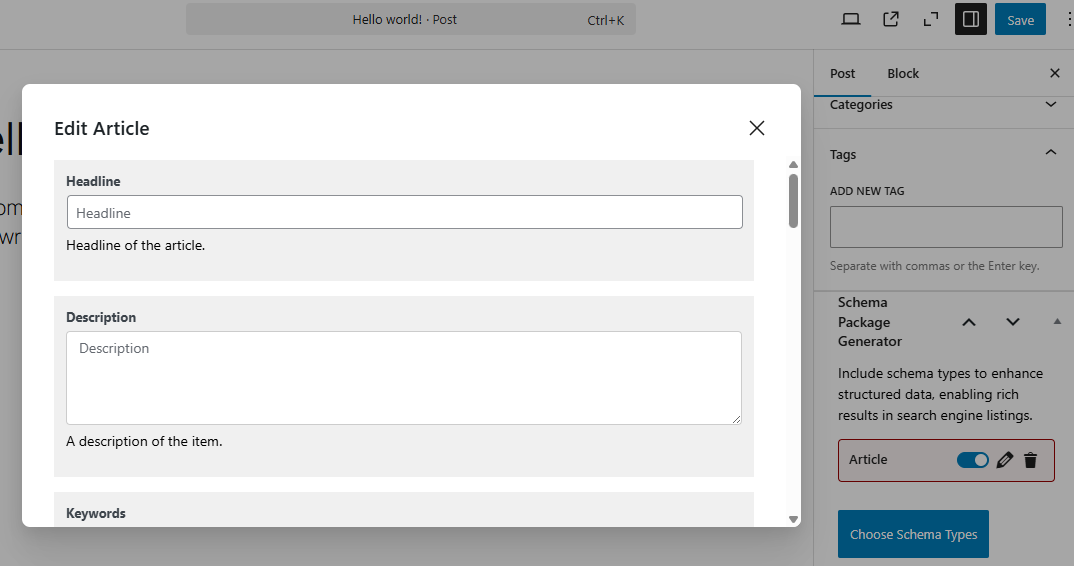
- Fill in the required details, then click the Save for Post button.
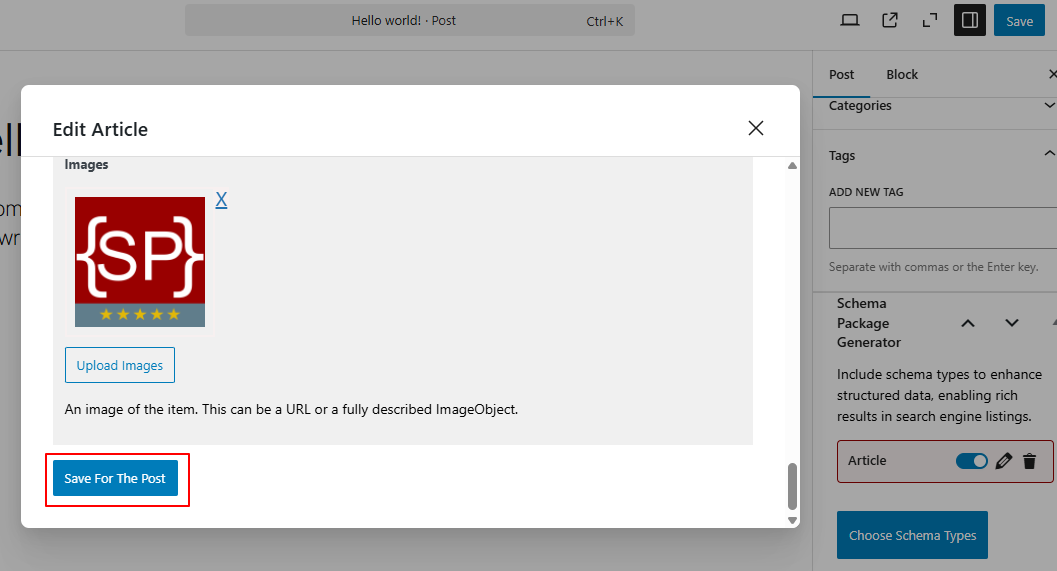
- Finally, Save or Update the post to apply the changes.
Note: This method is ideal for posts that require custom or advanced schema data. However, it comes with a drawback—if you use this approach for every post, it can become a time-consuming task to manually fill in the data each time. Therefore, use this method only when it’s truly necessary for specific posts or pages.
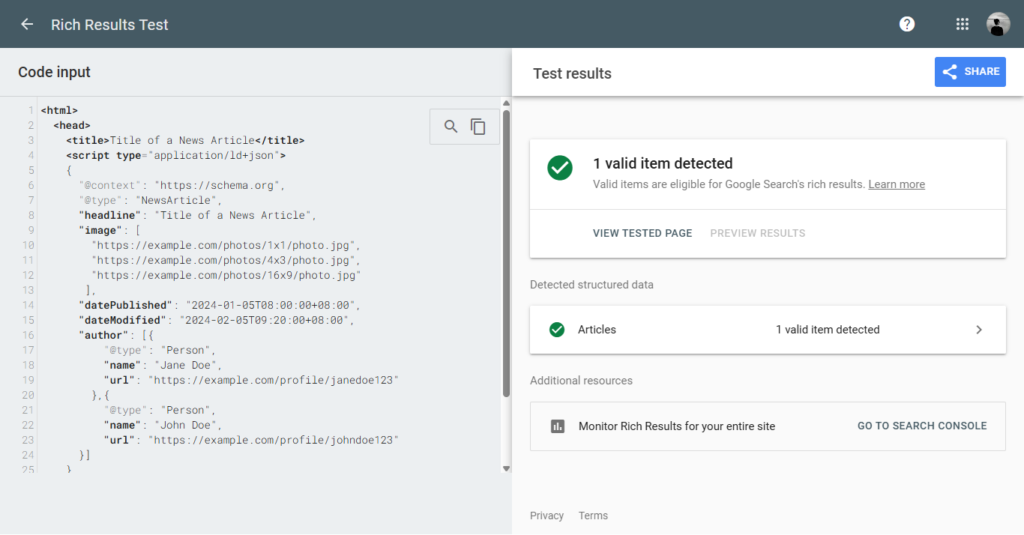
Test Your Schema Markup
After setting up your schema, verify it using the validator tools below. Simply copy your post URL or page source and paste it into one of the testing tools.
Common Issues & Fixes
- Use high-quality image URLs
- Ensure author/publisher info is complete
- Avoid duplicate schema from other plugins/themes
- Always validate schema after changes
Final Thoughts
By adding Article Schema with the Schema Package plugin, you’re not just optimizing your WordPress site for Google — you’re also preparing your content for the future of AI-driven search, assistants, and intelligent recommendations.
Structured data is no longer just an SEO tool — it’s a language for AI.
👉 Start using Article Schema today to improve your site’s SEO, visibility, and readiness for the AI-powered web.